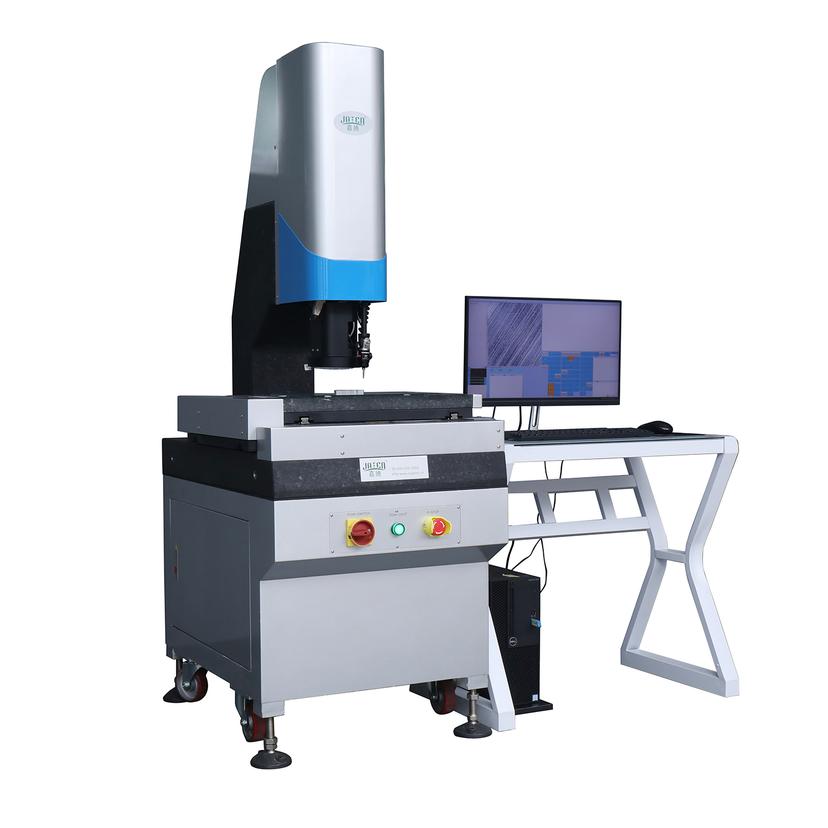
In Video Measuring Systems (VMS), calibration artifacts are essential for establishing measurement accuracy and maintaining system stability. Whether using glass scales, grating scales, target plates, or other geometric standards, their role is to provide reliable dimensional references and correct or verify measurement errors. Based on industry practice, the main functions of calibration artifacts in VMS are described below.
1. Establishing Length References
VMS converts pixel units into physical lengths through optical imaging and image processing. To ensure that the X/Y/Z coordinate system has a meaningful physical reference, calibration artifacts with known dimensions are used.
Provide verifiable standard lengths
The system calculates the pixel-to-length ratio using etched lines or standard features. For example, a 1 mm line corresponding to 840 pixels at a certain magnification allows the system to determine the effective pixel size in the current field of view, ensuring correct measurement results.
Reduce optical-induced geometric errors
Different magnifications produce lens distortions, field differences, and resolution variations. Using calibration artifacts for pixel remapping can correct distortion, non-uniform pixel response, and edge imaging deviations, making the scaling factor more stable.
2. Ensuring Geometric Accuracy and Repeatability
Calibration artifacts not only guarantee the accuracy of a single measurement but also ensure consistent results across multiple measurements.
Linear error correction
Stage linear errors arise from guide rail straightness, drive mechanisms, or environmental temperature. Measuring actual displacement with a grating scale or etched glass scale allows the system to create a deviation curve between commanded and actual positions and apply linear compensation, maintaining positioning accuracy throughout the travel.
Magnification error compensation
Lens magnification is affected by imaging distance, optical path position, and assembly tolerances. Calibration artifacts with known dimensions help establish the relationship between magnification and image scaling factors, ensuring dimensional consistency when changing magnification.
Geometric distortion correction
Lens distortion in large fields causes edge measurements to differ from the center. Using matrix points or etched lines on target plates generates a distortion model, ensuring consistent geometric behavior across the field of view.
Improve repeatability
Repeatability is influenced by light source stability, environmental temperature, and image processing fluctuations. Periodic measurement of fixed dimensions with calibration artifacts can detect system drift and ensure that measurement variations remain within tolerance.
3. Impact of Calibration Artifact Precision on Error Modeling
Error compensation relies on the system's error mapping model, which is based on data measured from calibration artifacts. The precision and stability of these artifacts directly affect model reliability.
Linear compensation
Corrects linear deviations along X/Y/Z axes across the travel. Inaccurate artifacts can shift compensation curves and reduce effectiveness.
Non-linear compensation
Addresses local stage errors or uneven guide wear. Non-linear compensation depends on multiple data points, making artifact stability crucial for algorithm correctness.
Field distortion compensation
Measures the offset of calibration features across different fields of view to generate a distortion matrix. Wear, contamination, or thermal expansion of lines or dot patterns reduces compensation effectiveness.
4. Conclusion
Calibration artifacts in VMS establish dimensional references, correct geometric errors, and verify repeatability, playing a critical role in maintaining system accuracy. Selecting stable, high-precision artifacts and performing regular calibration and maintenance ensures long-term reliable measurement performance.


