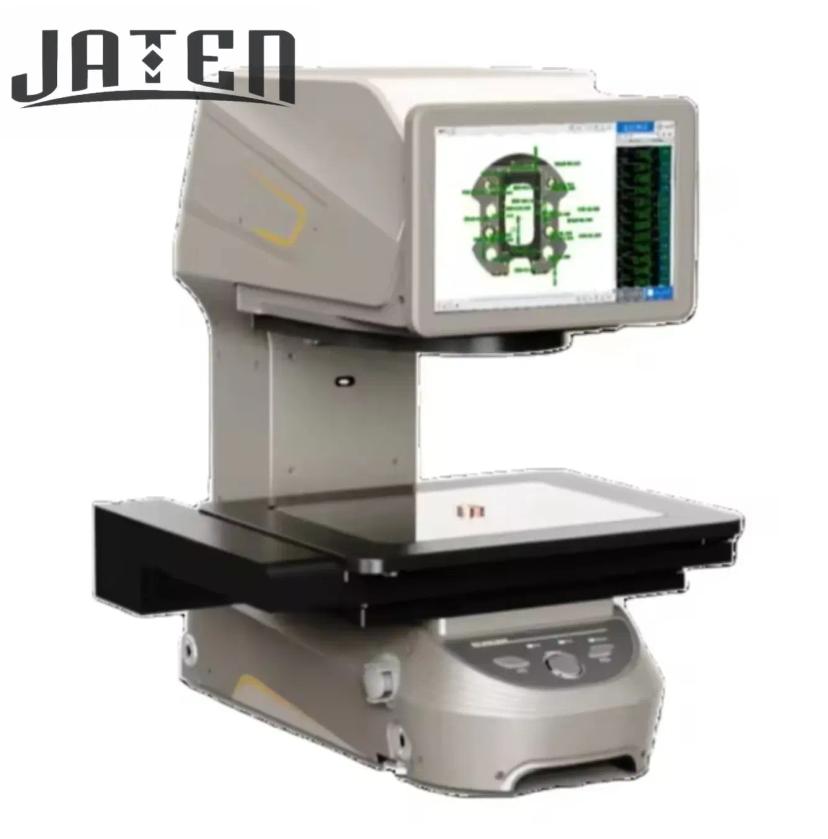
In optical measuring machines, the illumination system is not a mere "auxiliary configuration"; it is a core factor that determines measurement stability and repeatability. Even when optical components and measurement software are identical, simply changing the illumination method can lead to significant differences in results. Therefore, understanding the principles of multi-angle illumination from an engineering perspective is essential to ensure measurement accuracy.
1. Core Design Objectives of Multi-Angle Illumination Systems
Optical measurement does not directly measure dimensions; instead, it follows a complete chain: light → object → grayscale variation → algorithm → geometric boundary → dimension calculation. The illumination system plays a critical role in this process:
Creating Stable and Repeatable Grayscale Variation
Measurement relies on edge detection, which depends on grayscale gradients rather than absolute brightness. Stable gradients ensure repeatable results. For example, when measuring the outer diameter of thin sheet components, using contour lighting creates high-contrast black-and-white edges, enabling the software to consistently detect the same edge position and avoid misidentification due to lighting changes.
Enhancing Real Geometric Edges While Minimizing Surface Effects
Surface material, texture, and contamination can produce false grayscale changes, affecting accuracy. Proper lighting ensures edges are primarily generated by geometric boundaries rather than surface reflection or texture. For instance, using bottom-transmitted contour light for stamped metal parts provides clear edges with high repeatability, unaffected by material color or gloss.
Providing Consistent Gradient Conditions for Edge Extraction Algorithms
Algorithms can only detect grayscale transitions and cannot interpret physical geometry. Multi-angle illumination can provide consistent gradients to help algorithms reliably locate edges. For example, in step height measurement, using ring light or side light with fixed angles ensures uniform gradients, improving repeatability.
Controlling the Complete Chain from Light to Measurement
Accuracy depends not only on the lens or software but also on the coordination of the entire optical imaging chain. Proper lighting ensures grayscale changes are concentrated at critical edge locations, avoiding algorithm jumps or discontinuities. For highly reflective glass components, coaxial light can suppress surface texture interference, providing stable edge detection.
Adapting to Different Workpiece Characteristics and Measurement Requirements
Workpieces vary widely: thin transparent parts, stamped metals, PCBs, glass, and high-reflective materials all have different illumination needs. Multi-angle lighting allows flexible combinations of contour, surface, and coaxial lighting to achieve optimal measurement. For example, side light enhances small chamfers, while contour light is better for outer or inner diameters.
Mitigating Environmental and External Influences
Factory environments, slight tilts, or reflections can affect measurement stability. Multi-angle illumination can compensate for these factors, ensuring repeatable results in real production environments. For instance, on production lines inspecting continuous stamped parts, combining contour and ring light helps maintain edge clarity and reduces surface interference.
2. Engineering Practice Summary
From an engineering standpoint, multi-angle illumination design is more than brightness or aesthetics; it is key to measurement stability and precision. Practical experience shows:
Edge formation must be explainable and correspond to geometric features.
Light source angle and type should be chosen based on material, structure, and feature size.
Grayscale gradient stability is central to repeatability.
Combinations of contour, surface, and coaxial lighting should be optimized for comprehensive measurement of complex components.
In conclusion, multi-angle illumination in optical measuring machines is not only part of optical design but a fundamental guarantee of measurement accuracy and reliability. Only through proper design, engineering validation, and field application can optical measuring machines deliver maximum value in precision inspection


